Ever tried figuring out how to record electronic drums and just ended up tangled in wires and frustration? I’ve been there.
This article will save you from the trial-and-error process, providing a step-by-step guide to setting up, recording, and producing high-quality electronic drum tracks.
For those in a rush: you’ll need your drum set, an audio interface, a Digital Audio Workstation (DAW), and a bit of patience.
Now, let’s start untangling this together.

Different Technical Ways of Recording Electronic Drums
Navigating the world of electronic drum recording can be like walking through a maze.
There are several paths you can take, each with its own unique advantages and quirks.
Let’s break down two of the most common methods:
- MIDI recording
- Audio recording
MIDI Recording of Electronic Drums
MIDI, or Musical Instrument Digital Interface, is a protocol that allows electronic instruments to communicate with each other and with computers.
How to Record Electronic Drums Using MIDI
- Connect your electronic drum kit to your computer or audio interface using a MIDI cable.
- Open your DAW and create a new MIDI track.
- Set your drum kit as the MIDI input for this track.
- Hit the record and start playing!
Pros and Cons of MIDI Recording
Pros:
- Flexibility: You can change the sound of your drums after recording. Want your snare to sound like a handclap? No problem.
- Precision: MIDI captures your drumming in an easy-to-edit form. You can move beats around to tighten up your timing.
Cons:
- Sound limitations: The final sound quality depends on the drum samples you use in your DAW.
- Learning curve: You’ll need to learn about MIDI and drum programming.
Audio Recording of Electronic Drums
While MIDI recording offers excellent flexibility, you may want to capture the exact sounds from your electronic drum module, and for that, you’ll use the audio recording.
How to Record Electronic Drums Using Audio
- Connect your electronic drum kit’s output to your audio interface using audio cables. Usually, these are 1/4″ TRS or XLR cables, but check your drum module and interface to be sure.
- Open your DAW and create a new audio track.
- Set your audio interface as the input for this track.
- Hit the record and start playing!
Pros and Cons of Audio Recording
Pros:
- Original Sound: Audio recording captures the exact sound of your electronic drums as you hear them from the module. This is the way to go if you’ve spent time crafting the perfect drum sound on your module.
- Simplicity: It’s straightforward, like recording vocals
Cons:
- Less Flexibility: Once recorded, you can’t change the drum sounds like you can with MIDI.
- Mixing Challenges: Depending on your drum module and how you’ve connected it to your interface, you might end up with all the drums mixed together on one track, which can limit your mixing options later on.
Remember, there’s no right or wrong way to record your electronic drums. Finding the method that suits your musical workflow needs best is best.

Equipment Needed to Record Electronic Drums
Let’s start by ensuring you’ve got all the gear you need.
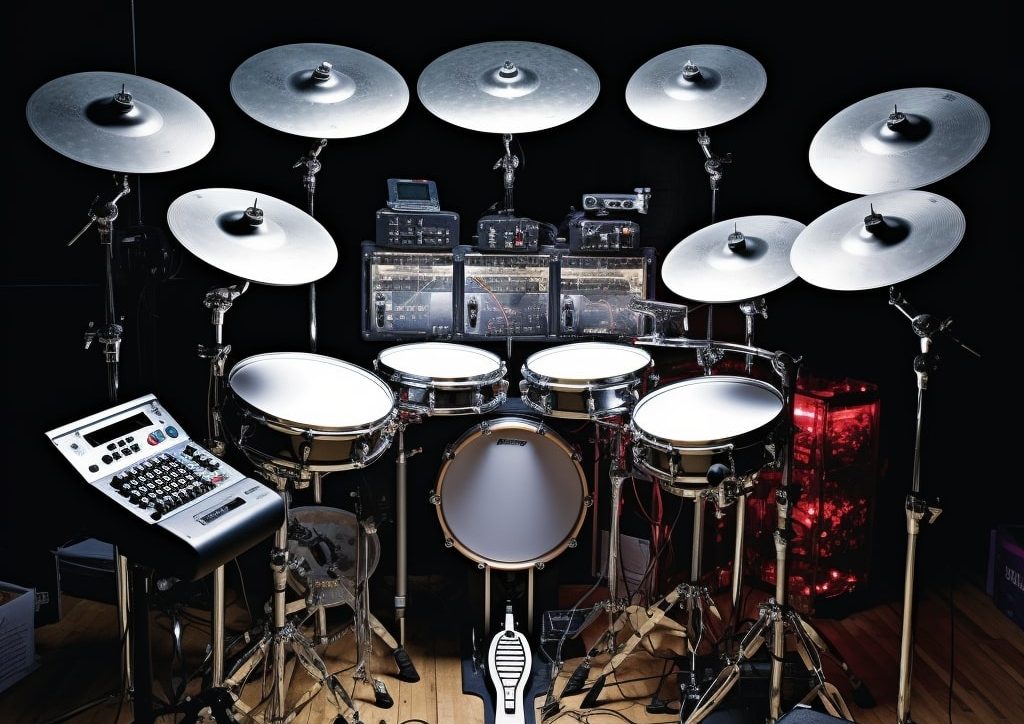
1. The Electronic Drum Set
The electronic drum set is the star of your recording setup. It’s where your creativity comes to life.
Electronic drum sets have pads that mimic the sounds of an acoustic drum kit. The unique thing is they’re touch-sensitive – the harder you hit, the louder the sound.
The difference between a high-quality drum set and a budget model can be like night and day. High-end models offer a better feel and more realistic sounds, often with more features.
My recommendation?
The Roland TD-50KVX.
This is Roland’s premium model, one of the best out there. It offers various sounds, incredible sensitivity, and advanced features like positional sensing on the snare drum and ride cymbal.
Of course, other reputable brands like Yamaha and Alesis have great options too.
2. The Audio Interface
Next up is the audio interface. This piece of hardware gets the sound from your drum set into your computer.
- For the budget option, I’d recommend the Focusrite Scarlett Solo. It’s compact, reliable, and offers excellent sound quality for its price.
- If you have more to spend, consider the PreSonus AudioBox USB 96. It provides two inputs, which can be handy for recording more than just your drum set.
- For a premium option, check out the Universal Audio Apollo Twin MKII. It’s not cheap, but it offers exceptional sound quality and comes with a suite of high-quality plugins.
When choosing an audio interface, consider the number of inputs you need, the type of connection to your computer (USB, FireWire, etc.), and whether you’ll need phantom power for any mics or other equipment.
3. Digital Audio Workstation (DAW) Software
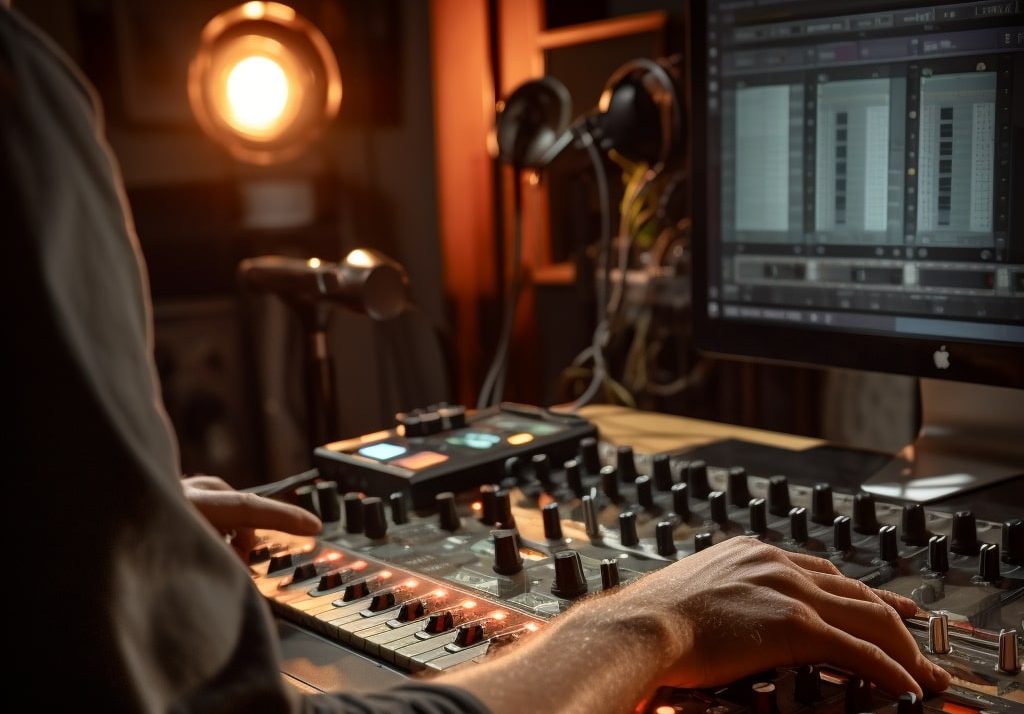
Your Digital Audio Workstation (DAW) is like your digital recording studio. It’s where all the recording, editing, and mixing happen.
- For a free DAW that works on both Windows and Mac, try Tracktion T7. It’s user-friendly and has many features for a free DAW.
- The mid-range option would be FL Studio Producer Edition. It’s a one-time purchase and trendy among electronic music producers for its intuitive interface and powerful features.
- If you’re looking for a premium DAW, you can’t go wrong with Avid Pro Tools. It’s widely used in professional studios and offers almost every feature you need.
When choosing a DAW, consider your budget, the type of music you’re making, and your level of technical know-how. Some DAWs are more beginner-friendly, while others offer more advanced features.
4. Additional Equipment and Accessories
Besides the electronic drum set, audio interface, and DAW, there are a few more pieces of equipment that you’ll need in your recording setup.
Headphones
A good pair of isolation headphones is crucial. They allow you to hear your drumming clearly while blocking out external noises.
The Beyerdynamic DT 770 headphones are a top choice in this category, offering an outstanding balance between cost, durability, and sound quality.
Check out this article for a more comprehensive guide on the best isolation headphones for drummers.
Cables
The type and quality of cables you use can affect the quality of your recording. It’s essential to have high-quality, durable cables that can withstand regular use.

Step-by-Step Guide to Recording Electronic Drums
Setting Up Your Electronic Drum Set
- Place your drum module (the brain of the drum set) on the left side if you’re right-handed or vice versa.
- Connect each drum and cymbal pad to the respective input on the module using the provided cables.
- Adjust the height and angles of each drum and cymbal to fit your preferred playing position.
Please read my guide for more about setting up an electronic drum kit.
Connecting the Drum Set to the Audio Interface
Let’s bridge the gap between your drum set and your computer. We’re going to connect the drum module to the audio interface.
- Locate the ‘Main Output’ or ‘Mono Output’ on the back of your drum module. You’ll typically find it labeled, often a 1/4″ jack.
- Grab a standard audio cable, usually a 1/4″ to 1/4″. The messenger will deliver your drum performance to the audio interface.
- Connect one end of your cable to the ‘Output’ of the drum module and the other end to an ‘Input’ channel on your audio interface.
Okay, so far so good. But we’re still going.
- Next, you’ll need to connect your audio interface to your computer. This is typically done with a USB or Firewire cable. Look for the corresponding port on your interface and plug the cable in there.
- Connect the other end of the cable to an available USB or Firewire port on your computer.
Now, a word of caution: be gentle when plugging in your cables. I’ve seen many a suitable line meet its end from being forcefully jammed into a port. So, take your time and ensure you’re connecting everything correctly.
And remember, some audio interfaces need to be powered on to function. If your interface has a power switch, flip it to the ‘On’ position.
This might seem like a lot, but you’ll set it up quickly once you get the hang of it. Remember, every great recording starts with a properly connected drum set and audio interface.
Keep an eye out for any loose connections. You wouldn’t want to lose that perfect drum take because of a silly cable issue, would you?
General Guide to Recording Electronic Drums in a DAW
A DAW is where all the recording, editing, and mixing occurs. Numerous options exist, like Ableton Live, Pro Tools, Logic Pro, and FL Studio.
Each has its pros and cons. If you’re new to recording, consider starting with a DAW that offers a user-friendly interface and good customer support.
Connect your audio interface to your computer, and make sure your DAW recognizes it.
Check the input levels and ensure you get a good signal from your drum kit. Remember, it’s better to record at lower volumes and increase later if necessary rather than risk distortion from too high an input level.
Preparing for Recording
Before you hit that record button, there are a few things you need to check:
- Connection: Use the appropriate cables to ensure your electronic drum kit is correctly connected to your computer or audio interface. This could be a MIDI cable if you’re recording MIDI or audio cables (usually 1/4″ TRS or XLR) if you’re recording audio.
- Audio Interface Settings: Your audio interface bridges your drum kit and DAW. Make sure it’s appropriately set up. This includes selecting the correct inputs, ensuring the gain levels are appropriate, and checking that it’s powered on and connected to your computer.
- DAW Settings: Within your DAW, you must select the correct audio driver (usually ASIO for Windows, Core Audio for Mac) and ensure your audio interface is selected as the input/output device. Most DAWs will have an Audio Settings or Preferences section where you can do this.
Recording Process
Now that you’re all set up let’s record:
- Create a New Track: This could be a MIDI track if you’re recording MIDI or an audio track if you’re recording audio.
- Assign the Input: You must tell your DAW where to listen. This is where you select the input channel of your interface connected to the drum module.
- Arm for Recording: This readies the track for recording. The button for this is often red and located on the way itself.
- Hit Record: Now you’re ready to go! Hit the record button, which is usually located on the transport bar, and start playing.
Remember, if you’re not seeing any signal or hearing any sound, double-check your connections, interface settings, and DAW settings. If your DAW or interface has specific drivers, ensure they’re installed and up-to-date.
Lastly, permanently save your work frequently. It’s better to be safe than sorry!

How to Record Electronic Drums on Your Phone
You’d be surprised how easy it is to turn your phone into a mobile recording studio for your electronic drum set.
The main idea here is that your electronic drum set will send audio signals to your phone, which will then record these signals as audio tracks.
These tracks can be:
- mixed
- edited
- exported
all from your phone.
Apps and Software You Can Use
There are plenty of apps out there designed specifically for this task. Here are a few favorites:
GarageBand (iOS)
GarageBand is a fantastic tool for iOS ushas many and comes with many features to edit your drum tracks.
BandLab (Android & iOS)
BandLab is an excellent option for both Android and iOS users. It’s a comprehensive DAW that lets you record and edit your tracks.
n-Track (Android & iOS)
N-Track is another excellent choice, providing a whole DAW experience on Android and iOS platforms.
Step-by-Step Guide
- Connect Your Drum Set to Your Phone: You’ll need a special cable, usually a USB-to-phone adapter. Plug the USB end into your drum module and the other into your phone.
- Set Up Your DAW App: Open your chosen app and create a new project or track. Make sure the app is set to receive audio from your drum set.
- Test the Connection: Hit a few drums and cymbals to make sure the sound is being picked up by your phone. You should see some activity on the app’s audio meters.
- Start Recording: Once everything is set up, hit the record button and start playing. When you’re done, hit stop, and your recording will be saved in the app.
Pros and Cons of This Method
Pros:
- It’s convenient and portable. You can record anywhere with your phone.
- It’s cost-effective. Most of the apps are free or cheaper than their desktop counterparts.
Cons:
- The audio quality might be lower than when using a professional audio interface and DAW.
- Some advanced editing features might need to be added to mobile apps.
Remember, the key here is practice. The more you experiment with these apps and your drum set, the more comfortable you’ll become with the process. Happy drumming!
Are Electronic Drums Better for Recording?
Recording drums has always been a challenge. With an acoustic kit, you have to manage multiple mics, deal with room acoustics, and hope your neighbors understand.
On the other hand, electronic drums can simplify the process considerably, but they come with pros and cons. Let’s delve a bit deeper.
Comparing Electronic Drums and Acoustic Drums for Recording
When recording, the most significant difference between electronic and acoustic drums is the process itself.
With an acoustic set, you’ve got to mic each drum individually, manage the room’s sound, and mix the tracks together to get a balanced sound. It’s a labor-intensive process, but the result is a rich, organic sound that’s hard to replicate.
Electronic drums, however, simplify the recording process. Each pad and cymbal is a separate, controllable entity; you can modify each sound individually.
You can get a clean, mix-ready recording straight from the drum module or even record MIDI data to tweak later in your DAW.
Benefits of Recording Electronic Drums
- Control Over Sound: Electronic drums allow you to modify each drum sound individually, giving you a level of control that’s difficult to achieve with an acoustic set.
- Less equipment Required: You don’t need a bunch of microphones or a well-treated room to record electronic drums.
- Silent Practice: Electronic drums are much quieter than acoustic drums, which makes them ideal for practice sessions, especially in shared living spaces.
Drawbacks of Electronic Drums
- Less Organic Sound: While technology has come a long way, electronic drums still need help replicating an acoustic drum set’s natural, complex sounds.
- Limited Expressiveness: Despite advancements, electronic drums can sometimes lack the expressive range of acoustic drums, particularly when it comes to dynamics, and cymbal swells.
- Cost: High-quality electronic drum sets that can genuinely emulate the feel and response of acoustic drums can be expensive.
Conclusion
Alrighty, drummers! So, let’s wrap this up. In this journey, we’ve unpacked the essentials of recording electronic drums, from the needed gear to various recording methods.
You can record with MIDI or audio, each has its ups and downs, but both will get you groovin’. A great drum set, a solid interface, and a user-friendly DAW will set you up for success.
Remember to save your work frequently, and avoid yanking those cables! If you’re on the go, whip out your phone and get a recording.
So, grab your drumsticks, and let’s make some sweet music! Happy drumming, folks!
My name is Denis. I am a drummer, percussionist, music enthusiast, and blogger. Drums have been my passion for 15 years now. My idea is to write about the things I like and I am interested in. I want to share my drum passion with fellow musicians who walk, talk, and breathe drums.


