Buyer's guide
Best Electronic Drum Sets
The right e-kit lets you practise at apartment volume without compromising the muscle memory you need for a real kit. The wrong one trains you out of acoustic playing in six months. Three kits ranked across the budget, mid-tier, and pro-studio price points — picked for stick rebound, triggering quality, and how well their feel transfers back to acoustic.
Our three picks
The shortlist, if you’re in a hurry
Roland
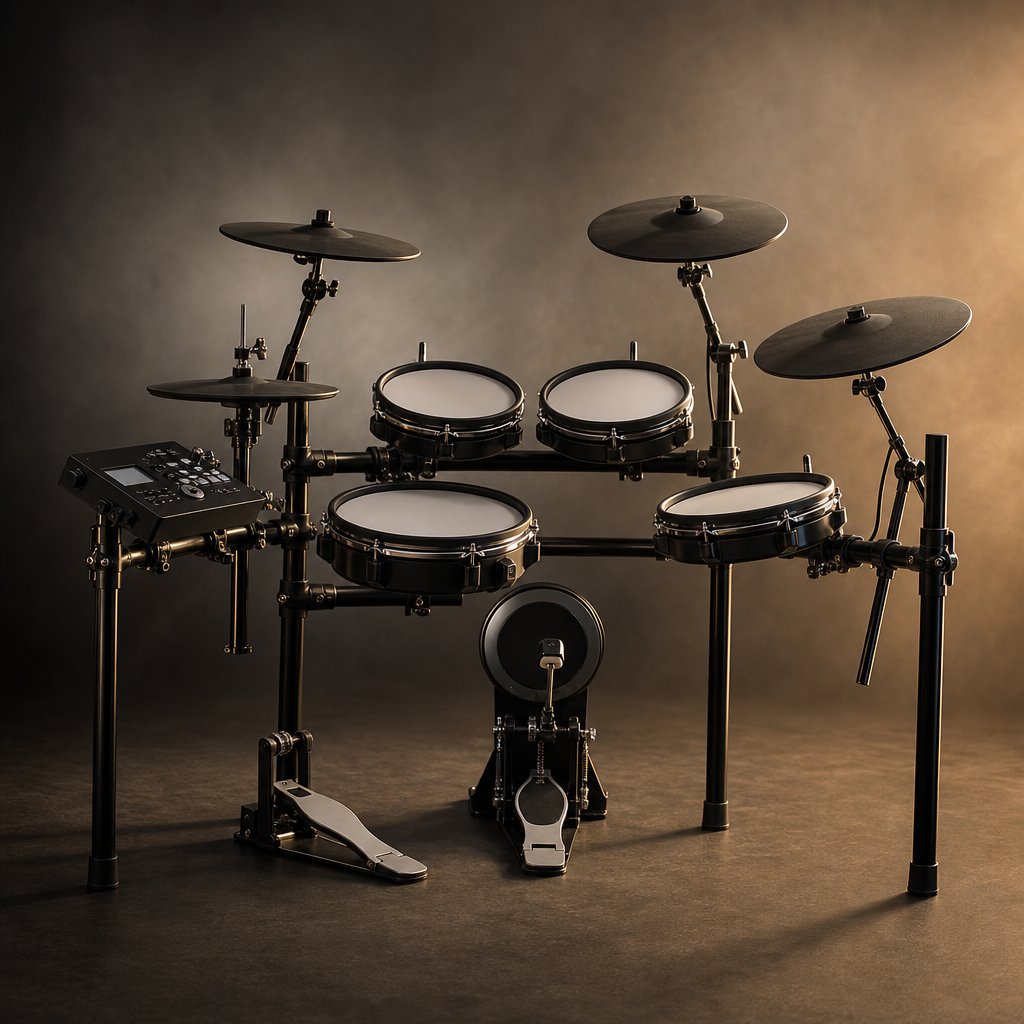
Roland TD-17KVX2
The mid-tier electronic kit that gigging drummers actually use. Mesh feel that doesn't betray your acoustic muscle memory.
Alesis
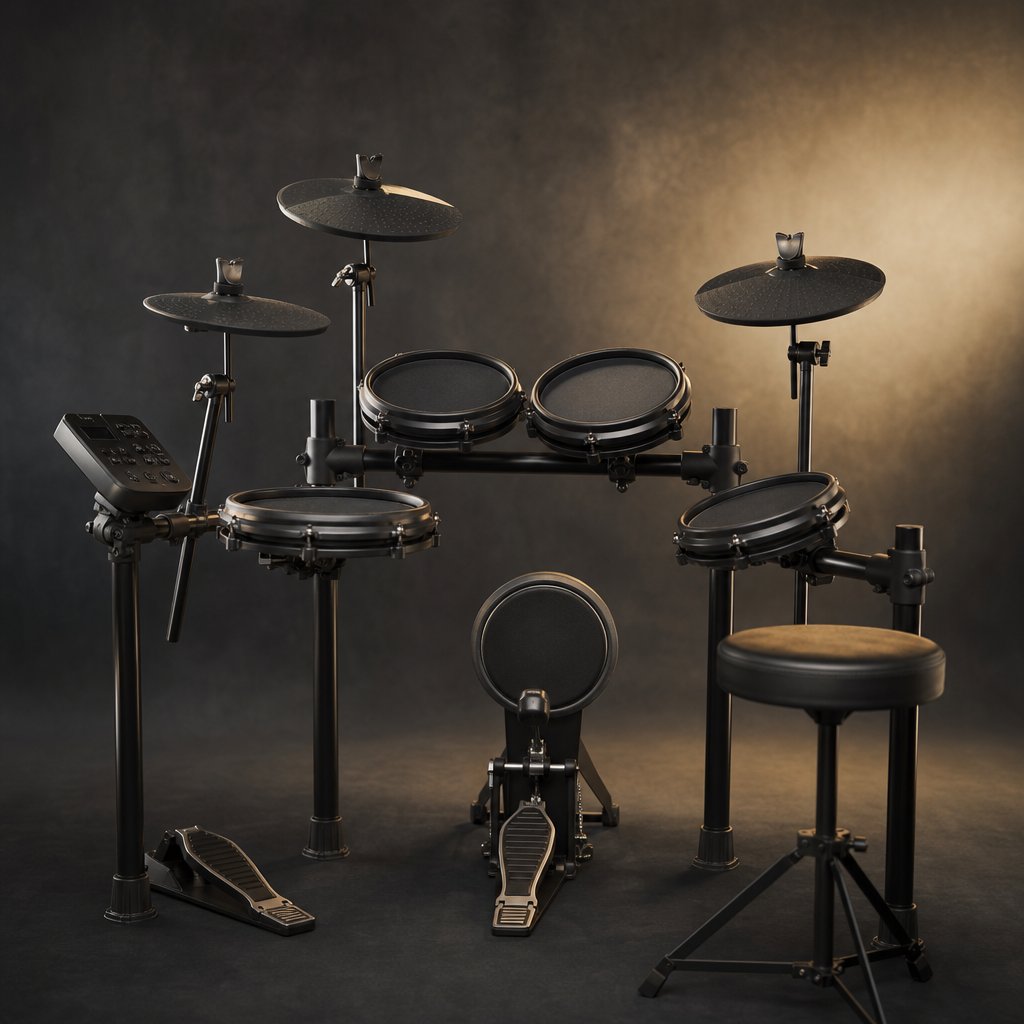
Alesis Nitro Mesh Kit
$399 for a real mesh-head e-kit. The kit that lets a beginner start without selling them the wrong fantasy.
Roland
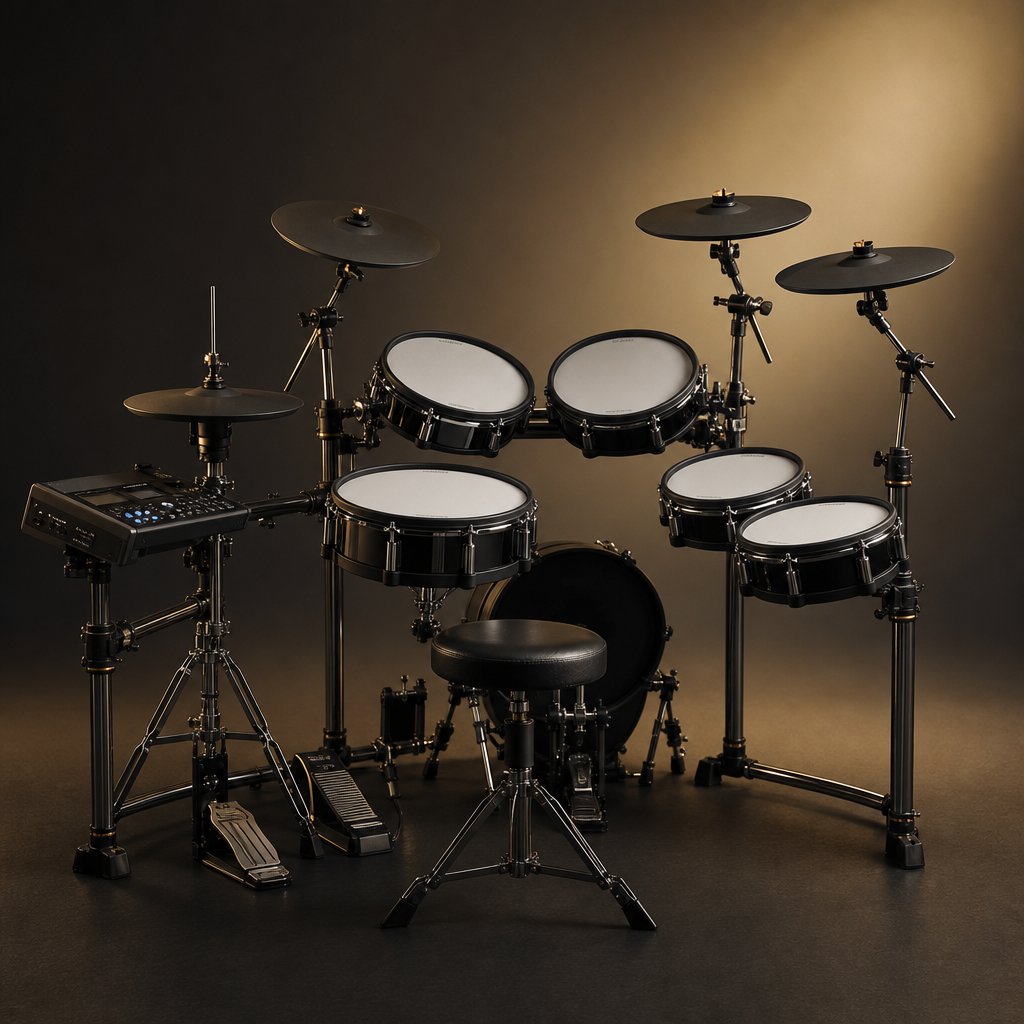
Roland TD-50KV2
The pro-tier studio e-kit. $8K is the price of being able to track session work without firing up an acoustic room.
All picks, side by side
Specs, prices, and verdict — side by side
| Product | Rating | Key spec | Price | Buy |
|---|---|---|---|---|
| Expert pick Roland Roland TD-17KVX2 | PADS 10" snare + 8"/8"/10" toms (all mesh), 12" hi-hat + 14" crash + 14" ride (rubber) | Around $1699 | Check price → | |
| Alesis Alesis Nitro Mesh Kit | PADS 8" snare + 8"/8"/8" toms (all mesh), 10"/10"/12" cymbals (rubber) | Around $399 | Check price → | |
| Roland Roland TD-50KV2 | PADS PD-140DS digital snare, 14"/12"/12"/10" digital toms, KD-220 kick | Around $7999 | Check price → |
In detail
Why each pick made the list
Expert pick · Best Overall
Roland
Roland TD-17KVX2
- PADS 10" snare + 8"/8"/10" toms (all mesh), 12" hi-hat + 14" crash + 14" ride (rubber)
- MODULE TD-17 with 70 kits, 50 onboard songs, Bluetooth audio
- TRIGGERING Multi-zone snare and ride, dual-zone toms
- FOOTPRINT Standard MDS-Compact rack, ~5×4 ft
The TD-17KVX2 is the kit that explains why Roland still owns the mid-tier of the e-drum market. The mesh snare reads positional dynamics — centre hits sound different from edge hits, rim shots register cleanly, cross-stick works without the cheating workaround that lower-tier modules require. Acoustic muscle memory transfers without retraining.
The kit's compromise is the cymbals: rubber pads on a kit at this price feel dated. The hi-hats and crashes are usable, but if you’re coming from acoustic cymbals you’ll notice the dead bounce immediately. The TD-17 module’s cymbal samples are good enough that you can reach the mix you want; the issue is the playing experience between strikes. Roland sells a digital ride upgrade if it bothers you. For most home and gigging use, it doesn’t.
Pros
- Mesh snare with Roland's positional sensing — cross-stick, rim shots, and centre/edge dynamics all register
- TD-17 module sounds are the closest in this price tier to studio-grade samples
- Bluetooth audio means you can practise to streamed tracks without a separate interface
Cons
- Cymbals are still rubber, not mesh or e-cymbal — feel is the weakest part of the kit
- Module screen is tiny by 2026 standards; expect to do most kit-editing through the iOS app
Alesis
Alesis Nitro Mesh Kit
- PADS 8" snare + 8"/8"/8" toms (all mesh), 10"/10"/12" cymbals (rubber)
- MODULE Nitro module with 40 kits and built-in metronome
- TRIGGERING Single-zone all pads
- FOOTPRINT Compact A-frame rack, ~4×3 ft
The Nitro Mesh is the only kit at $399 that doesn’t teach a beginner the wrong things. The mesh heads mean stick rebound is realistic from day one — no developing a flat, exhausted wrist mechanic from playing rubber pads for six months before upgrading. The trade-offs are unsurprising for the price: single-zone triggering across the kit, plastic-rack construction that flexes if you hit hard, and a module whose sounds are best treated as scratch tracks rather than final-mix material.
Where the Nitro Mesh actually shines is as a USB MIDI controller. Plug it into a laptop running EZdrummer or Superior Drummer 3 and the kit becomes the front-end for studio-grade samples. Most owners do exactly that within their first year. At $399 to start, it’s the lowest-risk way to find out whether you’ll stick with drumming.
Pros
- Mesh heads at $399 — most kits at this price point still ship with hard rubber pads that destroy wrists
- Compact rack actually fits in a bedroom corner without dominating the room
- Works as a MIDI controller for desktop drum software (EZdrummer, Superior Drummer, GGD) when you outgrow the module
Cons
- Single-zone snare — no rim shots, no cross-stick, no positional sensing
- Cymbals are tiny (10" hats and crash) and feel toy-like compared to the Roland
Roland
Roland TD-50KV2
- PADS PD-140DS digital snare, 14"/12"/12"/10" digital toms, KD-220 kick
- MODULE TD-50X with Prismatic Sound Modeling, 1024+ kits, 100 user kits
- TRIGGERING Digital sensors throughout — full positional and rim detection on snare and ride
- FOOTPRINT MDS-50KV2 V-Drums rack, ~6×5 ft
The TD-50KV2 is what e-drums have been promising for thirty years and finally delivered. The digital snare and ride pads use 16-bit positional sensors at every point on the surface, so the module isn’t triggering one of seven snare samples — it’s reproducing the acoustic response of a snare drum at the exact spot you struck. In a tracking session, mic comparison between a TD-50KV2 and a properly mic’d acoustic kit becomes genuinely difficult.
$7,999 puts this in studio-tool territory. For session drummers, broadcast composers, or anyone who needs to track legitimate kit sounds at apartment volume, that price is rational. For a working drummer thinking about a home practice kit, it’s irrational — the TD-17KVX2 covers practice and most gigs at one-fifth the price. Buy the TD-50KV2 only if recording is the primary use case.
Pros
- Digital snare and ride with 16-bit edge-to-centre positional sensing — undistinguishable from acoustic in a tracking session
- Prismatic Sound Modeling is a genuine generational leap over sample-based modules
- TD-50X module has the I/O footprint of a small mixer — direct outputs per pad, USB multi-channel recording
Cons
- $7,999 is more than most working drummers' acoustic kits combined
- Setup and configuration is a real time investment — budget a weekend to get it tuned to your playing
Frequently asked